

Winter is upon us!
It’s the perfect time to get your crock on with nourishing bone broth.
Needless to say, bone broth is having a moment right now. Kinda funny since its such a natural food that our ancestors ate thousands of years before we saw bone broth powder on the shelves at Whole Foods.
And for good reason! Bone broth is PACKED full of nutrients like important minerals, collagen, gelatin, glutamine, glycine, other amino acids and more.
Consuming delicious bone broth helps nourish and repair our guts (which helps everything!), lowers inflammation, lubricates our joints, and keeps our skin looking bright, tight and healthy.
Thankfully, making your own broth at home is super easy! It makes good, full use of our natural resources, connects us to animal and spirit, and fills your home with that cozy, restorative aroma. :) Plus it costs a fraction of the expensive broths in health food stores, it’s way healthier than the cheaper, MSG infused broths at standard grocery stores, and… well… I have yet to come across a store bought bone broth that tastes anywhere near as damn delicious as what I make at home. You can quote me on that. In extension, I don’t see why YOUR broth should taste any less supreme.
So lez do eet.
where to get your bones
You can certainly buy organic, grass fed/free range bones from your local farmer, at farmers market, health food stores, butcher shops, or even online.
My favorite way to go about collecting bones for broth is to simply buy bone-in meat (like a ribeye steak, lamb chop, or a whole chicken) to cook at home. After dinner I just toss the bones (and any other remains like skin, tendons or fat) in a ziplock bag in the freezer til I have enough bagged for a batch of broth. I do this on a continual basis and make a new batch of broth just about every week or two.
This practice is also nutritionally beneficial as keeping the bones intact when cooking your meat allows the minerals in the bones to alkalize the meat (otherwise highly acidic). So your meat becomes healthier, you’ve got (practically) free, high quality bones ready at home, and it’s super convenient to practice “two birds one stone” with buying your meat-bones and spending time double food prepping in the kitchen.
I always throw in whatever kind of bones I’ve got, though lately, more often than not, I’m stewin up chicken broth. Sometimes I’ll roast my own chicken at home like Julia, but when I’m busy I’ll buy a pre-cooked chicken at my local farmers market (psh, whatever makes healthy actually happen!). I come home and remove all the meat to store in portioned glassware for food prep for the week. Then I stick the entire chicken carcass remains (bones, ligaments, skins, tendons) in the crockpot. This adds more flavor and varying nutrients than just the bones alone. I swear it’s a big part of why my homemade broth tastes so dank!
Ingredients:
-Bones/remains
-Handful of veggies (like onion, carrot, mushroom, broccoli, shallot, chard)
-Fresh or dried herbs and spices (like ginger, garlic, turmeric, black pepper, rosemary, fennel, miso)
-Acidity (1/4-1/2 lemon, lime, splash of ACV, or wine) *(this adds taste and helps release minerals from the bones!)
-Optional: spicy pepper, like jalapeno
-Salt to taste
-Water
Directions:
-Quick chop veggies (just a couple dices will do)
-If using fresh herbs, like turmeric root, quickly peel skin and quick chop
-Add all ingredients to your crockpot and cover with water. Give your mix a good stir to help break things up, especially bones/remains
-Crock on low heat for ~24-48 hours (the longer the better). Stir a few times a day.
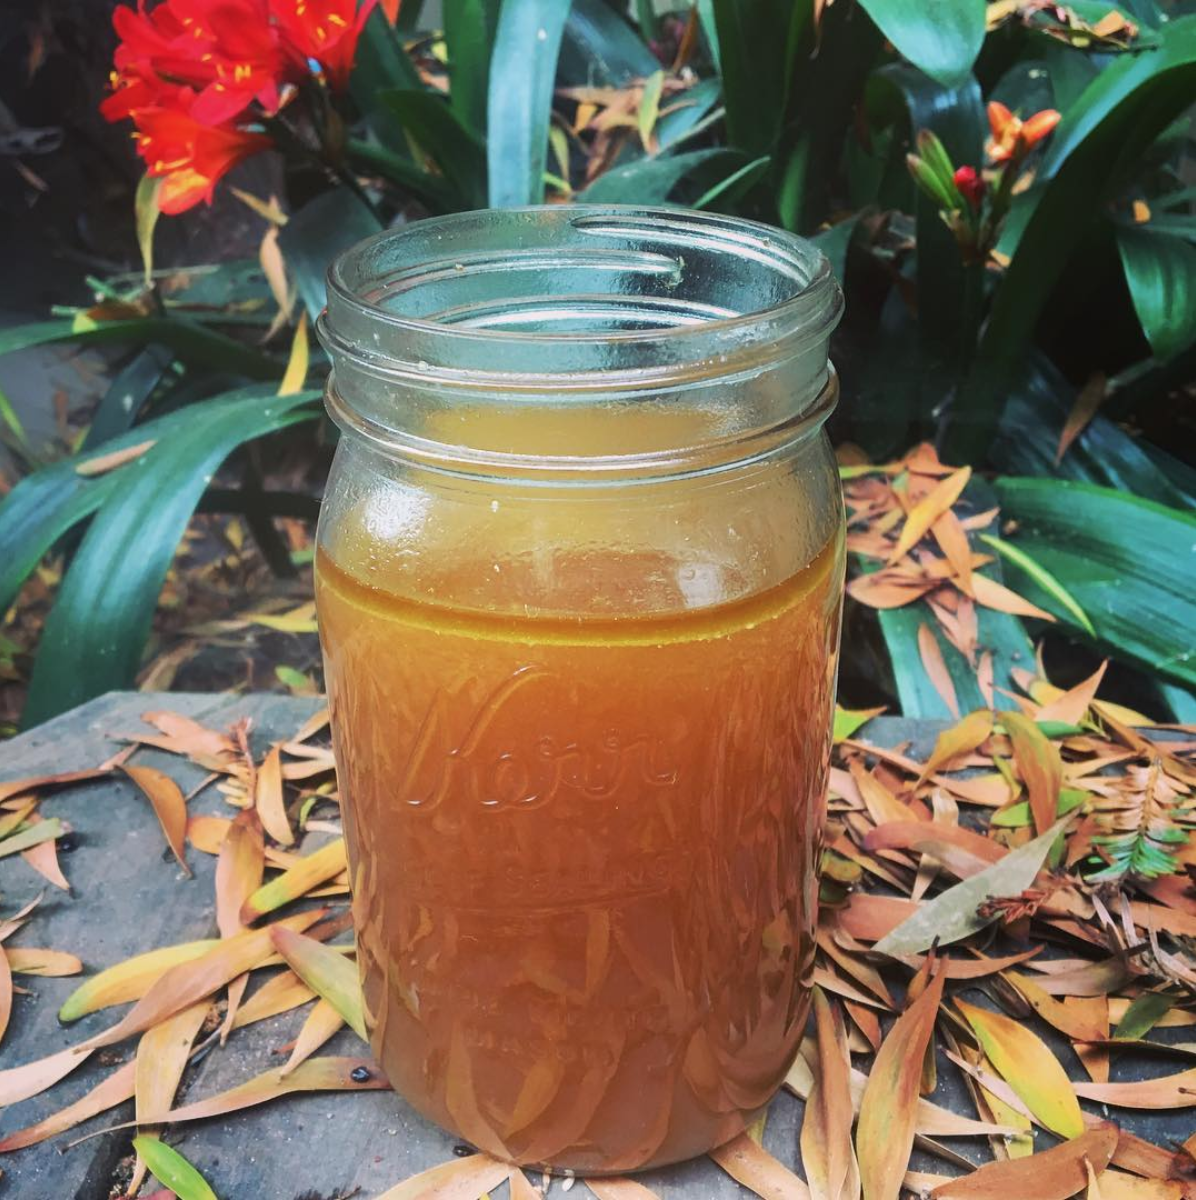
-Pour broth through a large strainer and store in mason jars. Store in the fridge for up to one week, and in the freezer after that.
Cooking Tips:
-While it’s best to let your broth simmer for 24-48 hours, you can tap into it early! You can also replenish some water and let it keep goin. I made some broth a couple nights ago and have simply ladled out a mug full each morning. I can taste it gettin better and better!
-If you’re planning to freeze your broth, let your mason jars cool before sticking in freezer, and leave an in inch of space at the top for expansion (or else they can crack).
-Play around with your flavoring! Some of my personal favorites are chicken broth with turmeric, black pepper and jalapeno, and beef broth with shitake, ginger and sweet onion.
-If any of you big girls out there wanna really get down, try the extra step of breaking your bones before crocking to release the marrow (makes your broth all creamy and even more nutritious!). You can do this with a hammer/mallet and towel or other instrument. This is a practice I’m still working on— I’ll update this post when it becomes real familiar and I have some tips on this! —If you’ve ever cracked your bones, feel free to share about it below!
Enjoy, darlings!
PS- Want more broth? Do you live in Oakland/Berkeley/San Francisco area? Feel free to scope out my friend and fellow wellness advocate’s company, The Abrothacary, specializing in high quality broth and seasonal broth cleanses. No affiliations, just honest recommendations. :)